

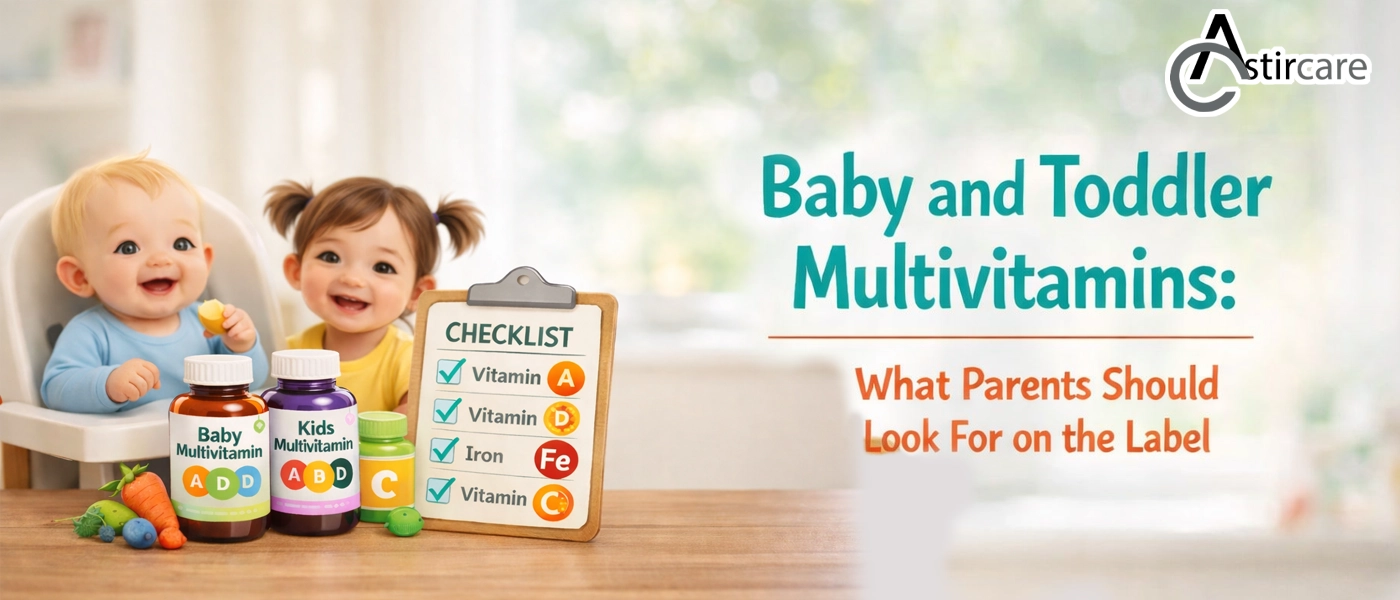
Baby and Toddler Multivitamins: What Parents Should Look For on the Label
31 Dec 2025Feeds come fast, parts stack up, and hygiene needs clear steps. You clean bottles and teats, yet germs still worry you before the next feed. Non-sterile parts raise risk, and a last-minute rush adds stress. There is a simple answer that fits real life: the cold-water method with Milton sterilising fluid. It works at room temperature, protects plastics and teats, and stays ready during the day. This guide shows when to sterilise, how to mix and use the solution safely, and how to keep a daily routine that sticks. Less fuss, more certainty. Feeds stay on track. Prepared. Always today.
When to sterilise with Milton sterilising fluid
-
Before first use and during early months: Sterilise bottles, teats, soothers, and pump parts before the first feed. Keep one daily cycle in the early months as immune defences build and routines settle.
-
After illness or long gaps: Reset hygiene after tummy upsets or colds, and after storage in cupboards or bags. A fresh cycle brings every part back to a safe baseline.
-
After travel or public outings: Soothers and teats pick up contact in prams, cars, and changing rooms. Run a cold-water cycle when you return home to remove unseen residue.
-
When items fall or touch unclean surfaces: Floors and busy worktops carry a risk you cannot see. Place the item in the solution for the full contact time before the next feed.
-
As a repeatable daily slot: Choose a time that fits your home rhythm. One fixed window reduces missed cycles and keeps the load predictable.
-
When switching bottles or teats: Sterilise new parts before first use and check flow holes for residue. Confirm a tight fit so milk flows cleanly without leaks.
How to use Milton sterilising fluid (cold-water method)
-
Prepare clean parts first: Wash every item in warm soapy water, then rinse. Cleaning removes milk film, so the cold-water method can work as intended.
-
Choose a food-safe tub with a lid: A lidded container prevents spills and keeps dust out. Clear sides help you check that each part stays fully submerged.
-
Mix to the label ratio: Pour water first, add Milton sterilising fluid, and stir gently. Follow the label exactly; do not exceed or dilute beyond guidance.
-
Submerge fully and release trapped air: Press the teats and valves under the surface to push bubbles out. Air pockets block contact and reduce the result.
-
Set a timer for 15 minutes: Full contact time completes the process. A timer protects the routine during busy moments at home.
-
Keep items in solution during the day: Parts can rest in the tub between feeds. Refresh the solution every 24 hours to maintain reliability.
-
Lift with clean tongs and assemble just before feeds: Handle contact areas with care to avoid recontamination. Follow your pack for any rinse instructions on your specific product.
Safety notes you act on
-
Follow the label, every time: Correct dilution and full contact time keep performance consistent. Never mix with other cleaners and keep away from food prep.
-
Store upright, closed, and out of reach: Keep Milton sterilising fluid in a cool place and close the cap firmly. Label the tub “sterilising solution” to prevent mix-ups.
-
Wipe spills at once: Chlorine solutions can mark fabrics and unsealed worktops. Keep a cloth near the station so you can clean up in seconds.
-
Inspect parts during each cycle: Replace cracked bottles, nicked teats, and tired valves. Damage traps residue and affects flow during feeds.
-
Mind, skin and eyes: If splashes occur, wash with water and read first-aid guidance on the pack. Seek medical advice if irritation continues after rinsing.
-
Ventilation and handling: Mix solution in a ventilated space and avoid breathing close to the tub. Wash your hands after contact and keep the station uncluttered.
Packs and value (fluid vs tablets)
-
Pick fluid by daily volume: Larger households run more cycles, so bigger bottles reduce top-ups. Match pack size to the litres you mix on a typical day.
-
Compare true cost per cycle: Check price per mixed litre for fluid and price per use for tablets. A cheap baby sterilising tablet still needs the same contact time and stated suitability.
-
Check shelf life and seals: Look for a clear expiry date and an intact safety seal. Store tablets dry in the original pack to protect potency.
-
Match method to items: Fluid suits, bottles, teats, pump parts, and small toys at home. Keep tablets for quick top-ups when space or time feels tight.
Travel light: mini sterilising tablets + a portable baby steriliser
-
Use case and scope: Trips, nursery runs, and nights away call for a compact kit. Mini sterilising tablets target small loads such as soothers and teats.
-
How the minis work: Fill the travel chamber to the marked line, add one tablet, and fit the cap. Follow your pack’s label for dosing and contact time; set a timer so you complete the cycle.
-
Why a portable baby steriliser helps: The sealed chamber keeps the solution contained in bags and cars. Inserts or sponges hold items under the surface to ensure full contact.
-
Spare parts on hand: Pack extra tablets and a clean container in a zip bag. This confines any drips and keeps your kit ready between stops.
-
Heat and light care: Keep the travel chamber away from direct sun and heaters. High heat shortens solution life and can warp soft parts during journeys.
Summing up
Set up one tidy station at home: a lidded tub, clean tongs, and a measured cold-water solution. Mix fresh each morning, keep parts submerged between feeds, and follow the label for dilution and contact time. For trips, carry mini sterilising tablets and a portable baby steriliser to handle soothers and teats on the go. Compare cost per cycle across fluids and tablets, pick a pack size that matches your daily volume, and store packs sealed and dry. Keep a short checklist on the fridge, and make sterilising a calm, repeatable step in your routine.


Leave a Comment